Back in the ’80’s when I was a Technician at Northrop-Grumman, I worked on a Receiver system that was made by Watkins-Johnson (WJ-9040 if I recall). All the units were painted matte black (spook stuff); There were modules for all the different bands; When the modules were all hooked together, the system could receive any signal, in any mode “known to man”. End-to-End the system was about 10 feet long! I was told the system (at the time) was deployed by NSA at US Embassies around the world to snoop on the local airwaves… Today, you can do that with a $30 SDR dongle and a Raspberry Pi. 🙂
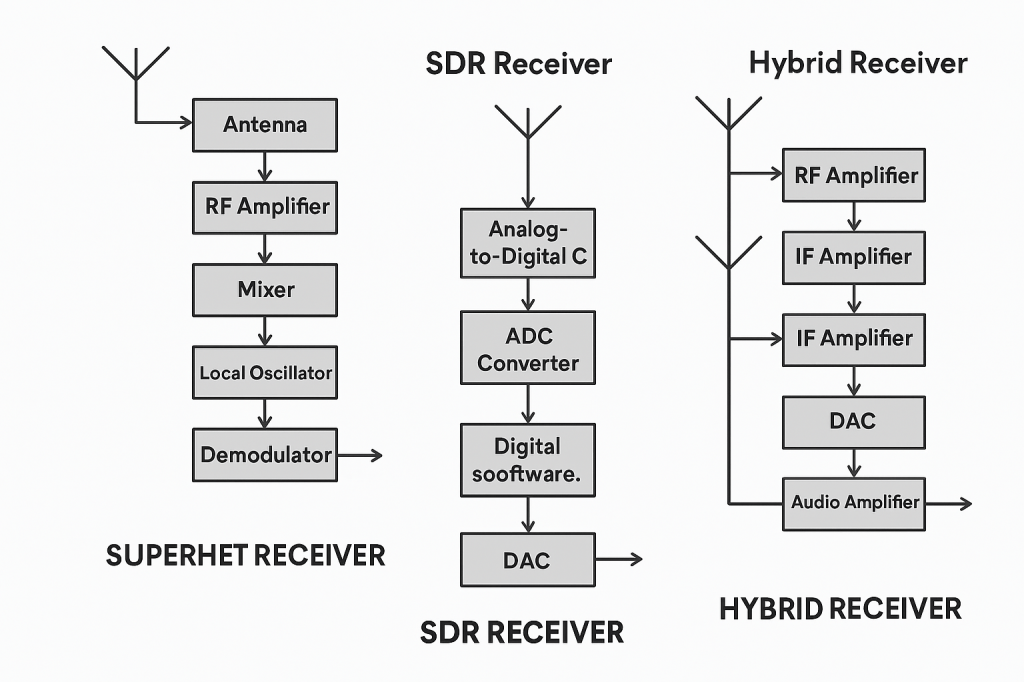
A superheterodyne (superhet) radio uses a series of fixed-frequency analog hardware filters and mixers to process a signal, while a Software-Defined Radio (SDR) primarily uses a high-speed analog-to-digital converter (ADC) and a computer or onboard processor to perform most signal processing in software.
Core Architectural Differences
| Feature | Superheterodyne Receiver | Software-Defined Radio (SDR) |
|---|---|---|
| Signal Processing | Primarily analog electronic components (hardware-defined). | Primarily digital signal processing (DSP) in software after initial digitization. |
| Intermediate Freq. (IF) | Converts radio frequency (RF) signal to one or more fixed, lower intermediate frequencies for easier filtering and amplification. | Often digitizes the RF signal directly or after minimal analog down-conversion (direct sampling/zero-IF). |
| Flexibility | Fixed hardware design offers limited flexibility; changing modes or filters requires hardware modifications. | Highly flexible; new modes, filters, and features can be added via software updates. |
| User Interface | Traditionally uses physical knobs and switches. | Often uses a computer interface with visual tools like a “waterfall” spectrum display. |
Superheterodyne Receivers
- Pros: Can offer superior performance in crowded RF environments by effectively handling strong, nearby signals with dedicated hardware pre-filters, which prevents overloading later stages. Known for excellent sensitivity and selectivity in well-designed, high-end models. They can also be more rugged and self-contained.
- Cons: More complex hardware architecture; can suffer from “image frequency” interference if not properly filtered. Less adaptable to new technologies or changes in radio standards.
Software-Defined Radios (SDR)
- Pros: Unmatched flexibility, allowing for a wide range of bandwidths and demodulation schemes to be handled by the same hardware. Features like wideband spectrum scopes (waterfalls) make it easier to visualize and find signals. Good quality SDRs often provide excellent overall performance for daily amateur use.
- Cons: Early or low-cost SDRs can be susceptible to overload from strong signals on adjacent frequencies unless external pre-filtering is added. They often require a separate computer for full functionality, or in standalone units, rely on expensive, high-speed analog-to-digital converters to achieve high dynamic range.
Hybrid Designs
Many modern, high-performance radios are actually hybrid designs, which combine the best of both worlds by using a superheterodyne front-end (mixers and filters) before the signal is digitized by an ADC. This approach uses analog filtering to maintain dynamic range and prevent overloading, while still allowing for the powerful, flexible digital signal processing capabilities of an SDR
Origins and Evolution of SDR in Ham Radio
SDR technology has revolutionized ham radio by replacing analog components with software, enabling greater flexibility, affordability, and performance. Its development began in military and commercial sectors in the 1980s and entered amateur radio in the early 2000s, now powering rigs from budget dongles to high-end transceivers.
- 1980s–1990s: Military and Commercial Roots
- SDR began as a solution for military radios needing multi-band, multi-mode flexibility.
- Early systems were large, expensive, and used in secure communications and electronic warfare.
- Early 2000s: Entry into Amateur Radio
- Advances in digital signal processing (DSP) and affordable ADCs made SDR viable for hobbyists.
- Projects like GNU Radio and platforms like FlexRadio introduced SDR to the ham community.
- 2010s: Mainstream Adoption
- Affordable USB dongles (e.g., RTL-SDR) allowed receive-only SDR experimentation.
- Transceivers like the FlexRadio 6000 series, Elecraft KX3/K4, and Icom IC-7300 blended SDR with traditional interfaces.
- 2020s: Hybrid and Full-SDR Integration
- Radios like the Icom IC-7610 and Yaesu FTDX101D use hybrid architectures: analog front ends with digital IF processing.
- Fully digital rigs offer remote operation, real-time spectrum scopes, and multi-mode decoding via software
Final Thoughts
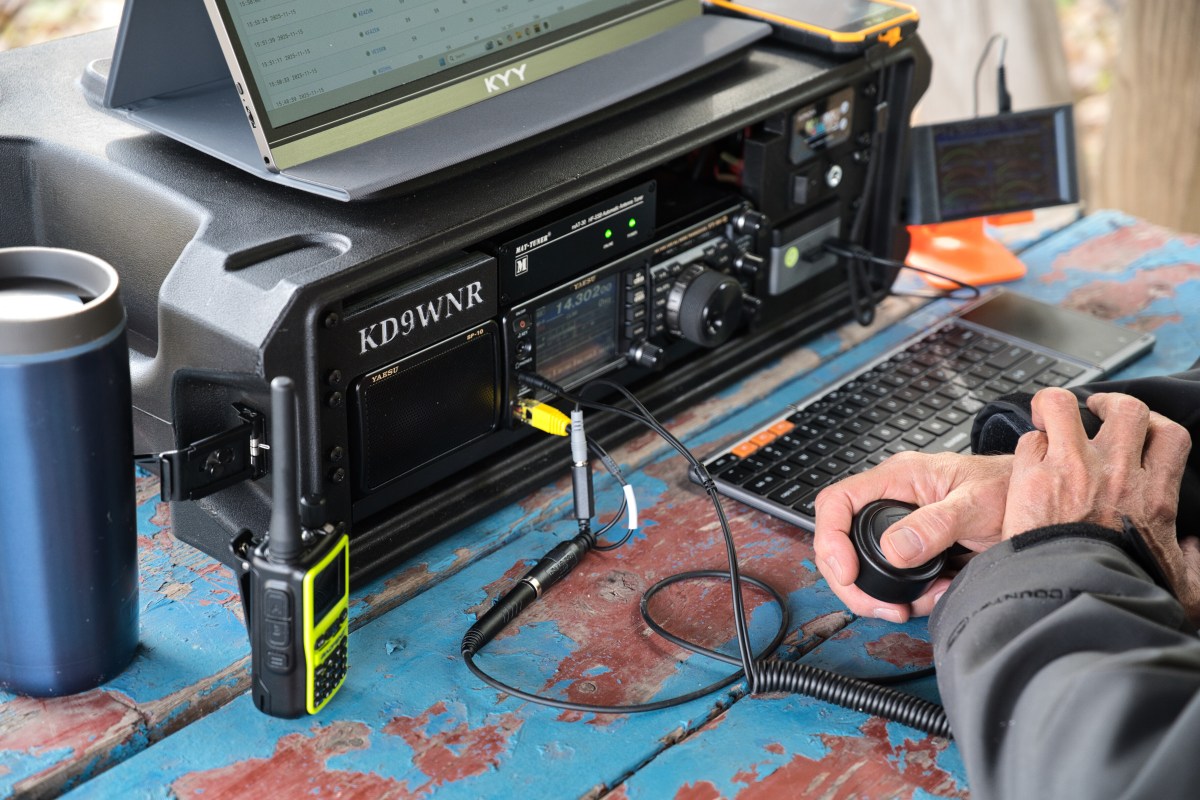
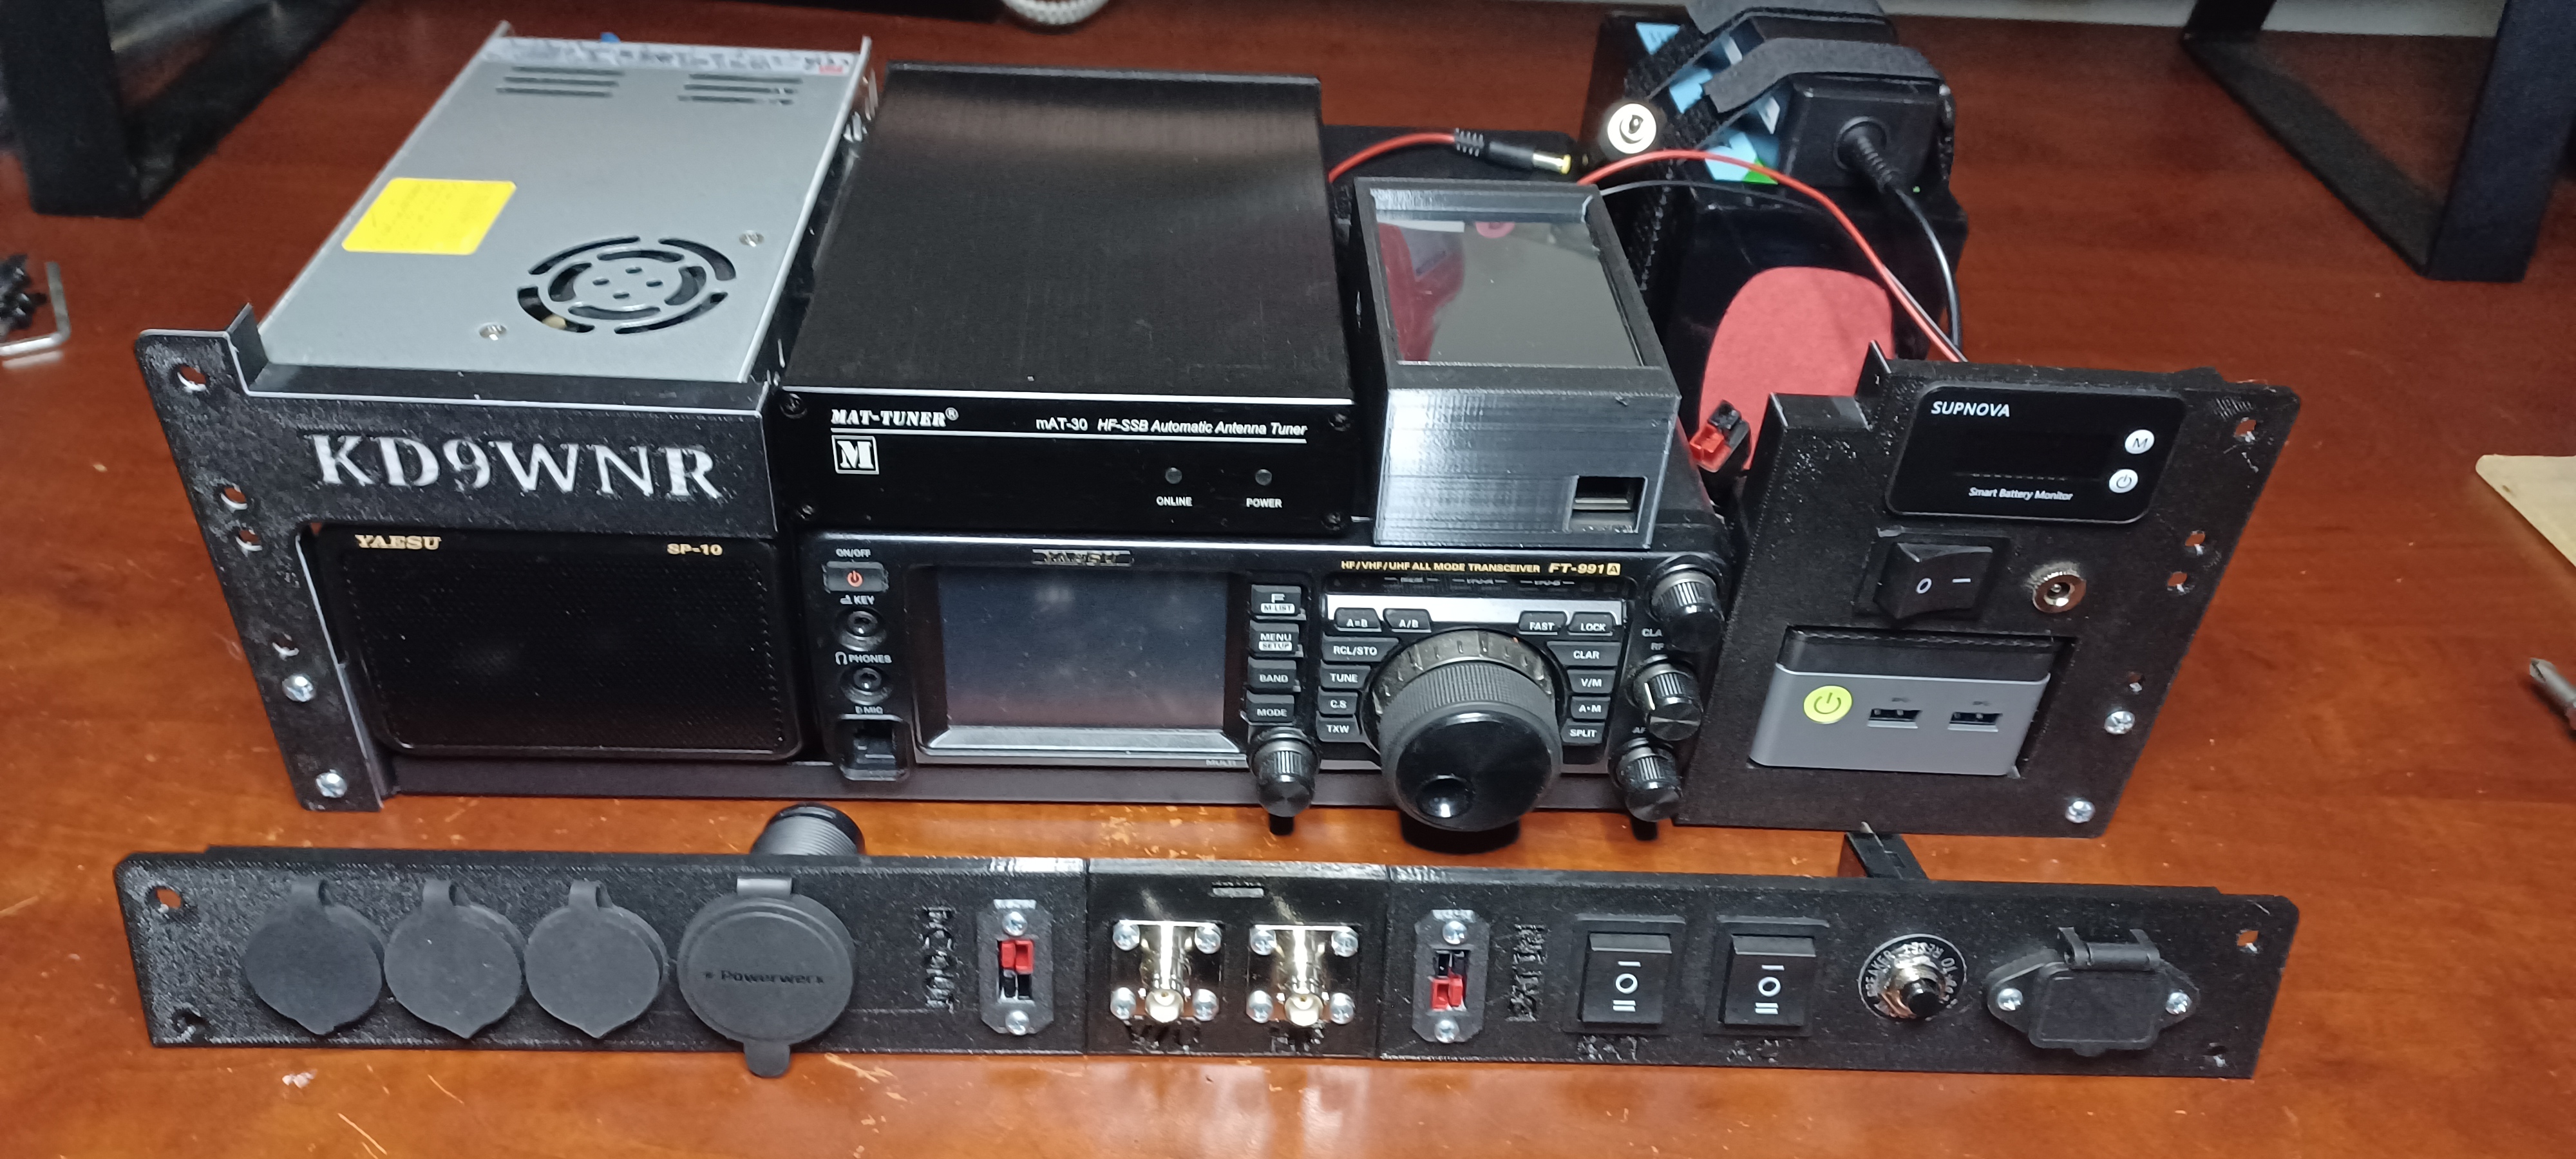
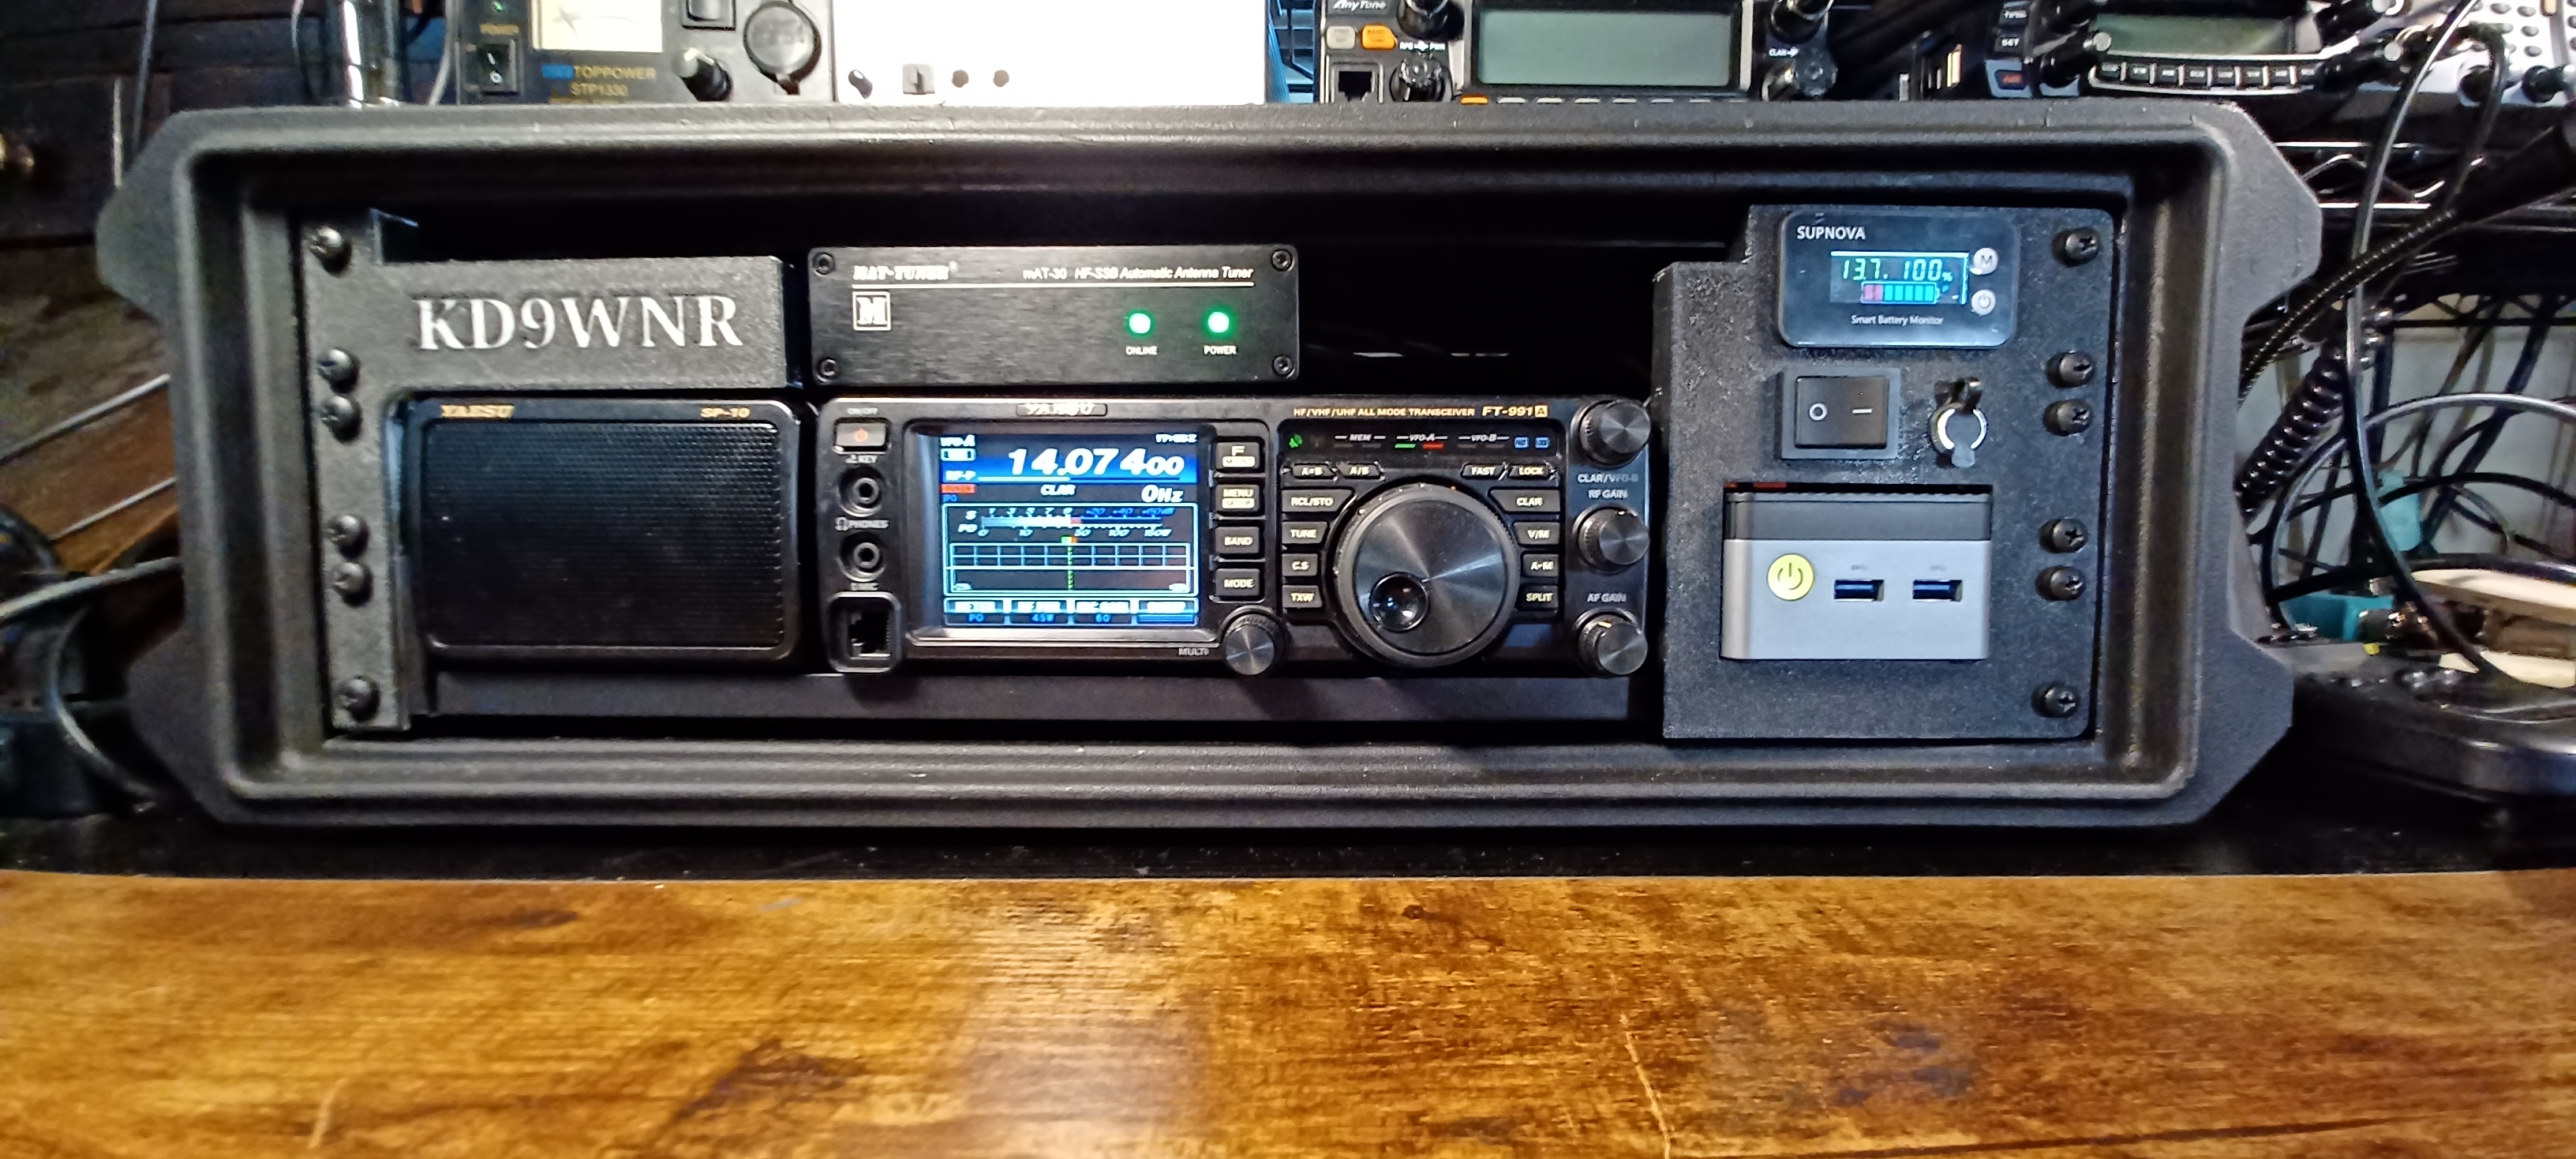
Some Hams swear by superhet radios for their superior receive performance characteristics; Some wouldn’t even consider a pure SDR. Today, most of the high-end radios are hybrids. I remember when I told my boss I just bought a Yaseu FT-991A… The first thing he said, in a negative way: “That’s an SDR.” He’s an old-school Extra, exclusively into DX; He has an FTDX-101D (hybrid).